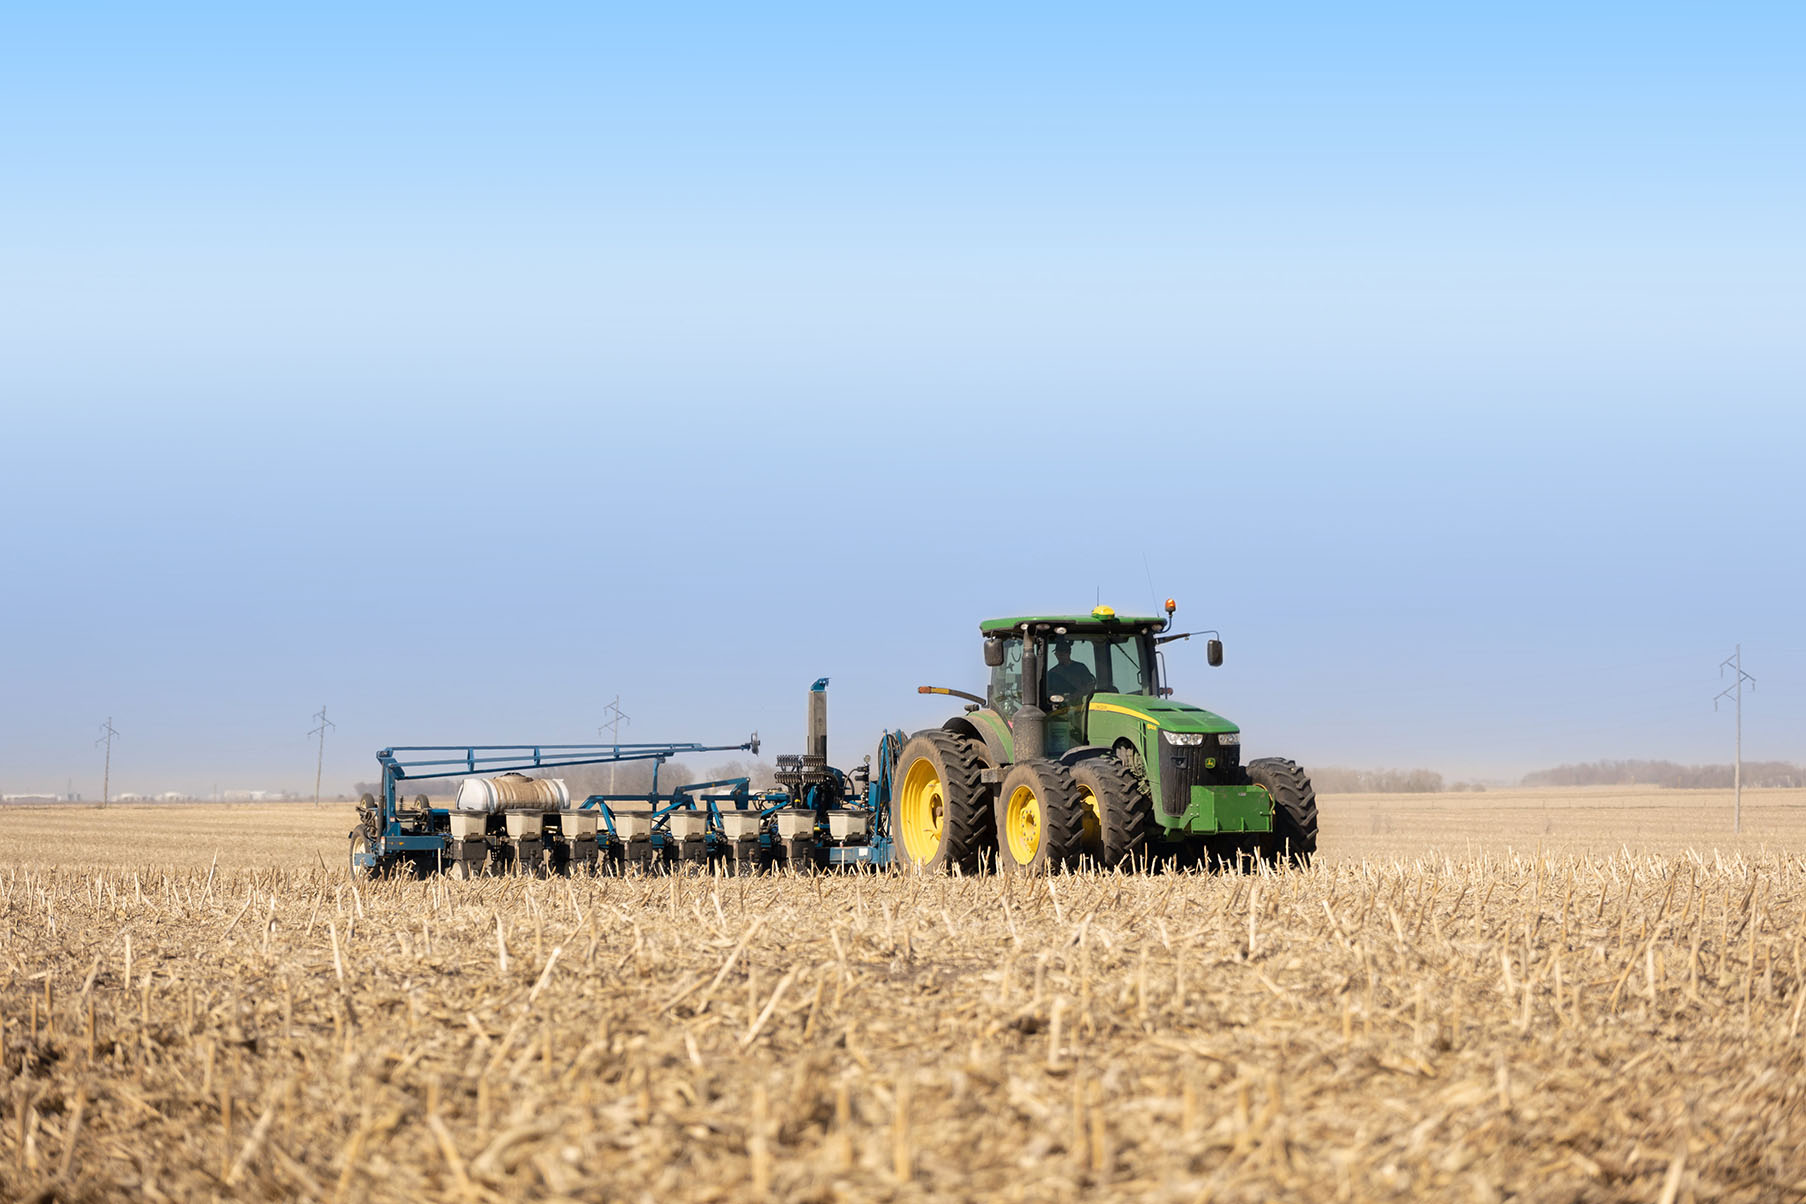
(Photo: Iowa Soybean Association / Joclyn Bushman)
6 steps to planting success
March 31, 2025 | Kriss Nelson
The foundation of a high-yielding harvest begins before planting.
One way to ensure you are giving your crops the best start is through proper planter maintenance and setup.
“The seed you are putting into the ground is your investment for the entire year,” says Doug Houser, Iowa State University digital ag extension specialist. “To get the biggest bang for your buck is to ensure you have thoroughly maintained your planter.”
New or old, planters need attention; don’t overlook these top six vital steps for the 2025 growing season.
No. 1: Maintenance
Uniform seed emergence starts with planter maintenance.
Houser recommends starting at the front of the planter with the no-till coulters, working your way to the back, ending with the closing wheels. Pay extra close attention to parallel arms, gauge wheel arms and double disc blades.
“Check all bearings, bushings, shafts and other components that have wear and need to be replaced,” he says. “I know this all sounds obvious and simple, but planter maintenance is important.”
Ensuring gauge wheels and the double disc blades are wearing evenly is also critical to proper seed placement and depth.
“Use a tape measure and ensure the double disc blades are the same size,” says Houser. “If one blade is more worn, you might think you are planting at a two-inch seed depth, but you might only be planting at 1 1/2 inches.”
No. 2: Closing Wheels
The closing wheel system, even on new planters, must be checked to ensure it is aligned with the furrow.
“The closing wheels need to be pinching the furrow from the left and the right sides to close that furrow from the bottom up to be set properly,” says Houser. “If not properly set, you will not get that moist soil around the seed to create a nice seedbed environment.”
Houser says farmers often inquire about what kind of closing wheel system would work best for their planter.
“There are many options out there,” he says. “To figure out what works best for you, try a small strip trial on only half of the planter in a small area to compare it to other ones before buying a whole planter’s worth of new closing wheels.”
No. 3: Air Compressors
Don't overlook pneumatic planters’ components, such as the air compressor.
“You need to make sure to either change or at least check the oil in the air compressor and drain the moisture from the tank,” Houser says. “While there, check the fan blade if you have a vacuum planter. You must inspect that fan blade to ensure it is in proper working order. If it is not working, it will cause many problems.”
No. 4: Software Updates
Just as phones and computers require updates, so does the planter’s precision software.
“Make sure to take the time to look for those updates. Work with your precision dealer or the company’s website to show you step-by-step instructions,” says Houser.
No. 5: Downforce Settings
Houser says farmers often inquire about how much downforce to use.
“There needs to be a firm furrow that presses out air pockets, but yet is not too firm to cause compaction,” he says.
While planting, Houser encourages farmers to get out of the planter and look down at the furrow structure behind the area between the gauge wheels and closing wheels to see the condition of the furrow.
No. 6: Be Prepared
Having essential parts readily available enhances planting efficiency.
“Keep essential spares handy, such as gaskets or, for high-speed planters, brushes and bearings, to avoid costly downtime,” says Houser.
Planting Into Cover Crops:
When planting green, ensure your row cleaners and closing wheels are set, continue to check downforce and that the furrow is closing correctly.
“Last year’s wet conditions caused some problems when planting into standing cover crops,” says Houser. “If this is new to you, I would highly recommend trying to plant green on a small scale before you invest in doing it on your whole operation,” he says
Contact Kriss Nelson at knelson@iasoybeans.com
Back